Quick diagnosis
The Compass is the progression tree for buildings, boosters, ships, and upgrades. If a ship, building, or advanced option is unavailable, look for a missing Principle Path point, a ship unlock boundary, or a Deed reward that would push you over the threshold.
There are more than 100 unlocks across the Compass. The practical question is not what looks best, but what unlock removes the obstacle you are facing now.
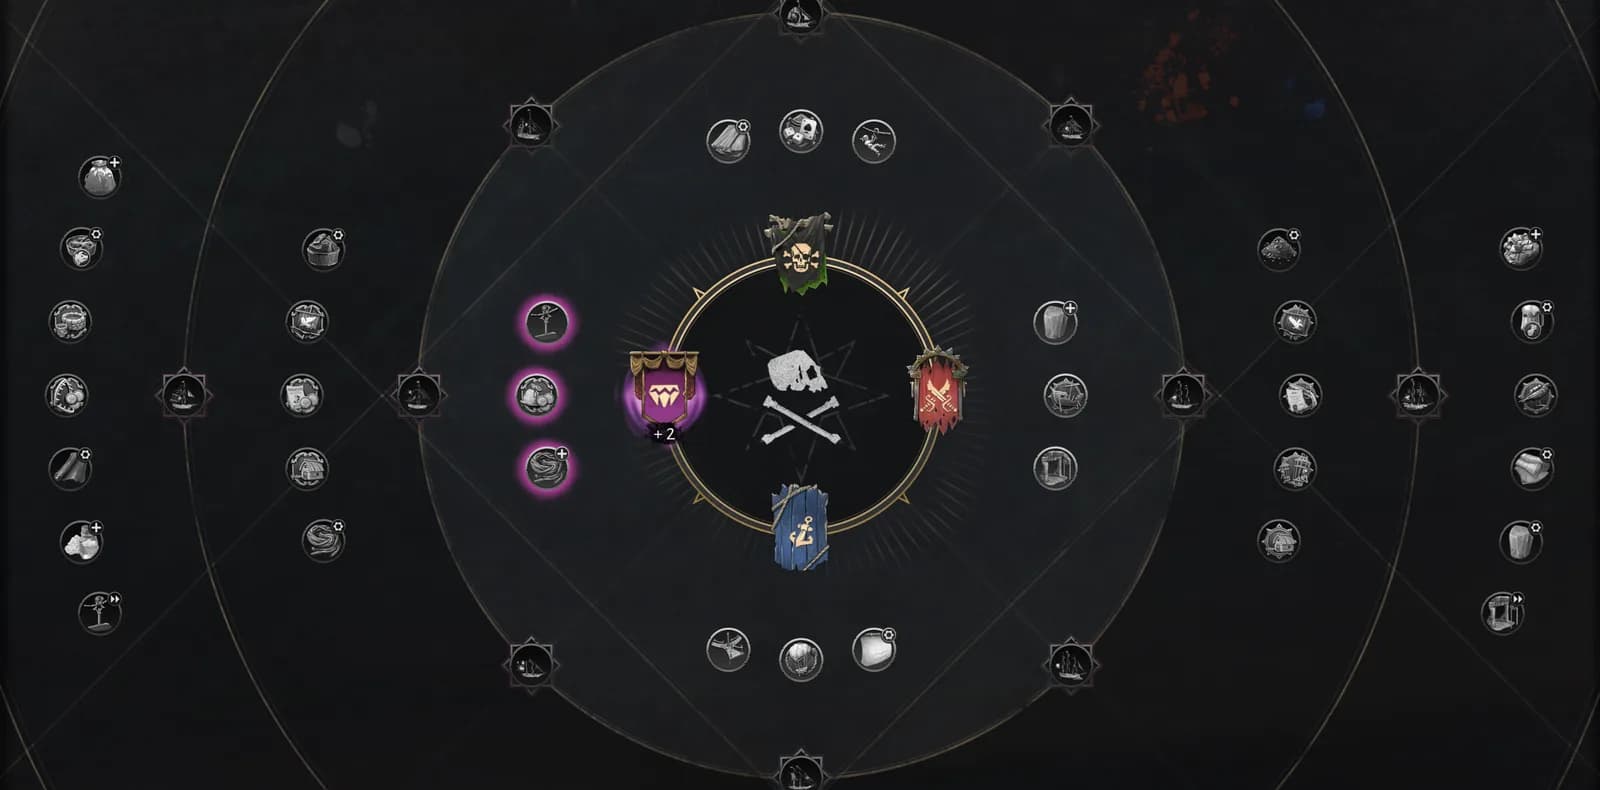
Official Corsair Cove wiki Compass board showing the progression map behind the path and ship unlock advice in this guide.
Version and source notesUpdated 2026-08-26 · Source review due
- Updated
- 2026-08-26
- Works with
- Released PC version after Patch #4
- What this guide covers
- Covers Principle Paths, point thresholds, ship breakpoints, and Deeds
- Version notes
- Compass tree and unlock order may change after major patches
- Update status
- Source review due
Choose the right guide
This page: Understand points and unlocks.
How the Compass is organized
The Compass divides into four cardinal Principle Paths: Notoriety, Empire, Seafaring, and Wealth. Each path has its own identity, and each tier unlocks more powerful options after enough investment.
- Open the Compass and identify the path that matches your current problem.
- Look at the first-tier options available immediately.
- Spend enough points to reach the next ship unlock for that route.
- Use the ship unlock to reveal later options in that path.
- Check adjacent paths when a plus variant or cross-path bonus looks useful.
Ship tiers are major breakpoints. Tier 2 requires 3 Compass points, Tier 3 requires 7, Tier 4 requires 12, and Tier 5 requires 20.
Use Deeds to fill a missing point
Deeds reward Principle Path Points for objectives outside the main quest line. Each Deed belongs to a path and gives one point. That makes them useful when you are one point short of a building, ship tier, or capacity upgrade. Use the Deeds guide to compare the practical objectives available on each path.
Use this approach:
- Open the ship or building you want.
- Note which path and point threshold blocks it.
- Check Deeds under that same path.
- Complete a nearby objective rather than spending points in an unrelated direction.
- Return to the Compass and unlock the option that solves the current bottleneck.
Do not treat Deeds as cleanup after the fact. They can be the cleanest way to reach a required threshold.
Choose a practical first route
A good first Compass route follows the next visible blocker:
- Pick Seafaring when expeditions, ships, or sea encounters are limiting progress.
- Pick Empire when settlement capacity, construction, or organization is the bottleneck.
- Pick Wealth when production, storage, trade, or resource flow needs support.
- Pick Notoriety when you want pirate events, pressure, and that path’s distinctive rewards.
Unlocking the adjacent quadrant’s ship at a tier boundary can also open a stronger plus variant. If you are comparing hulls, read the ships guide before committing rare materials. If your settlement cannot supply the voyage yet, the production chains guide and logistics tips may be the real prerequisite.
If you need an ordered route rather than a mechanic overview, use the best Compass path guide to match early spending to your current blocker and next ship threshold.
Common mistakes
- Spending points in several directions without reaching a ship breakpoint.
- Ignoring Deeds when one point is blocking a useful unlock.
- Unlocking a stronger hull before the Pier, crew, and supplies can support it.
- Choosing a plus variant from a path that does not match the voyage.
- Treating the Compass as a list of bonuses instead of a problem-solving tree.
What success looks like
Each point spent removes a concrete obstacle: a ship becomes available, a building appears, capacity improves, or a Deed fills the threshold for the next route. If the unlock does not change what you can do next, it may be too early to take it.