Quick diagnosis
Do not judge a ship only by size. A useful ship matches the job: the event you want to run, the crew you can spare, the materials you can build, and the Compass path you have unlocked. A weak hull with a starving settlement is riskier than waiting one step.
Health and Crew are critical during battle. If either reaches zero, the ship can be destroyed. Supplies also matter because they can be spent during dangerous encounters.
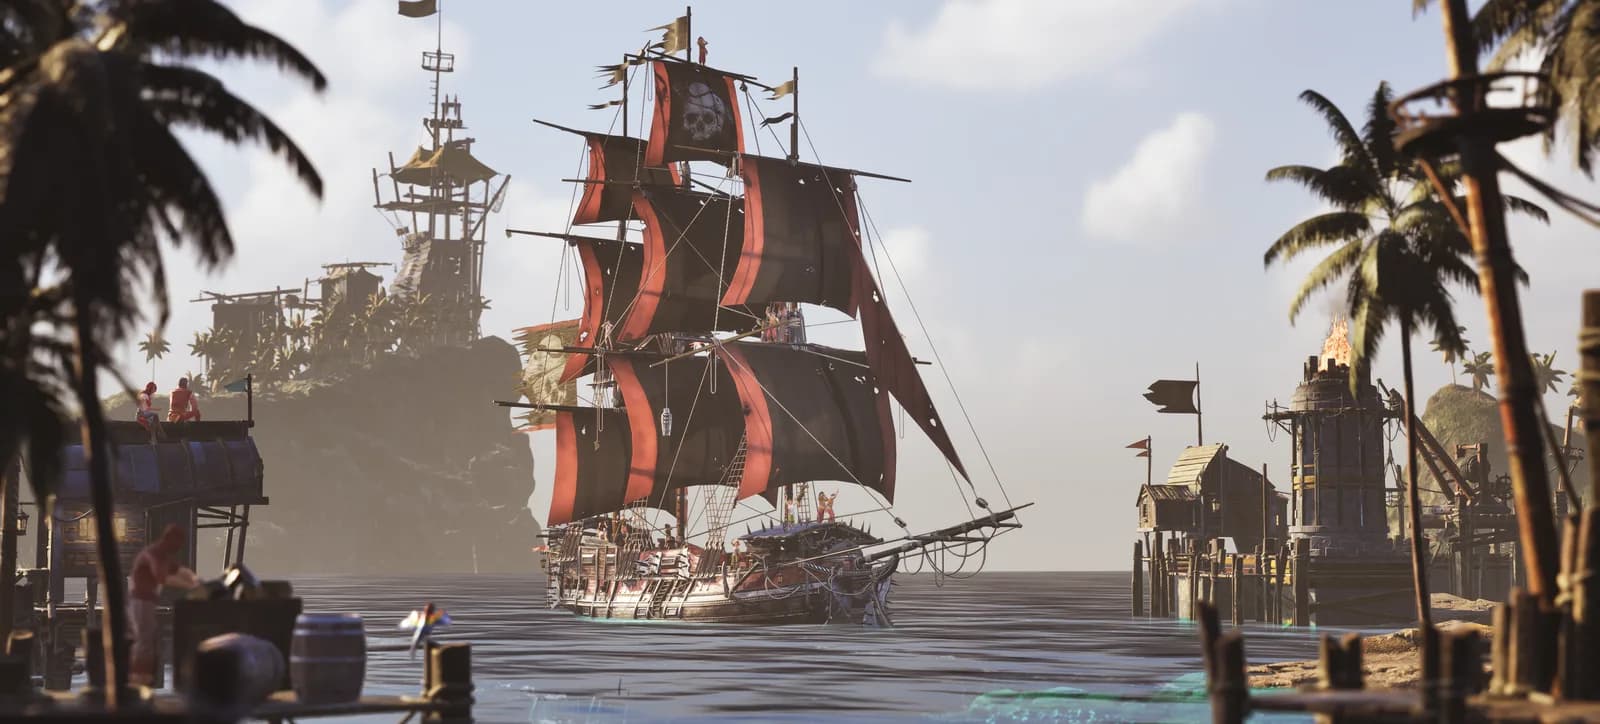
Official Corsair Cove wiki Ship construction image showing the Pier-side hull choice this guide compares.
Version and source notesUpdated 2026-08-26 · Source review due
- Updated
- 2026-08-26
- Works with
- Released PC version after Patch #4
- What this guide covers
- Covers ship tiers, costs, crew, supplies, and path-based hull choices
- Version notes
- Ship stats and unlock costs may change after balance patches
- Update status
- Source review due
Understand ship progression
Ship strength rises by tier, and Compass progression gates the stronger hulls:
- Tier 2 unlocks after 3 Compass points.
- Tier 3 unlocks after 7 Compass points.
- Tier 4 unlocks after 12 Compass points.
- Tier 5 unlocks after 20 Compass points.
The first ship, 1 Landlubber, costs 15 Planks and uses a Shallow Pier. Tier 2 ships need 10 Planks and 20 Rope. Tier 3 ships need 50 Planks, 50 Rope, and 30 Sails. Tier 4 ships require more advanced materials and a Trade Pier.
If a ship is unavailable, the problem may be the Compass path rather than the shipyard. Use the Compass guide to see which path and deed points unlock the next hull.
When several hulls are available at once, compare their stage and mission roles in the best ships by tier guide before spending the build materials.
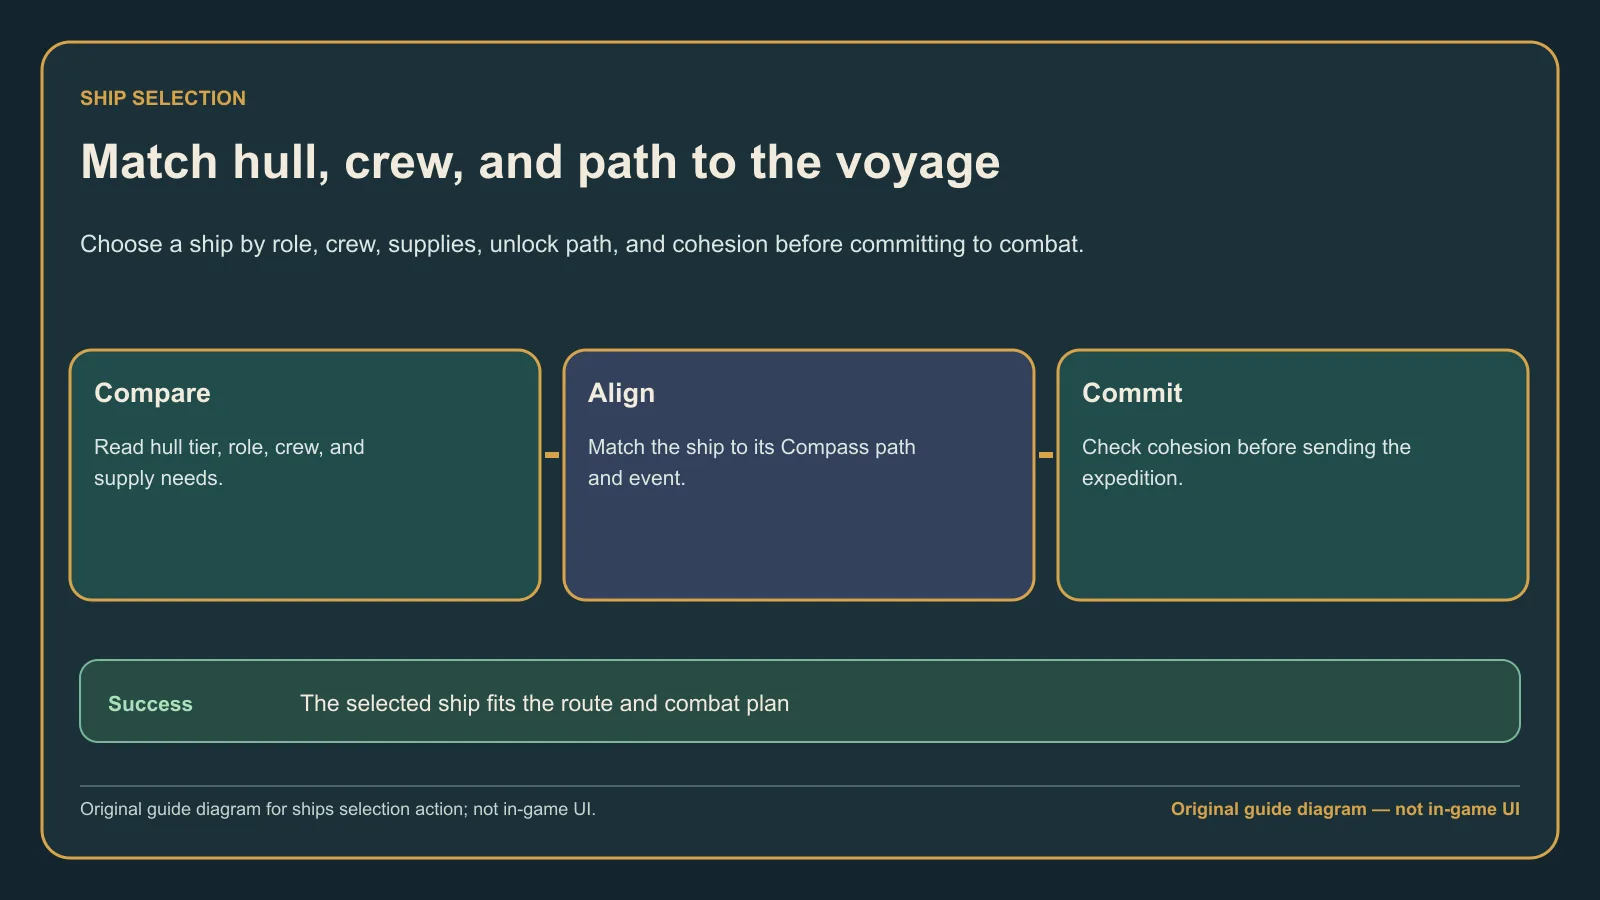
Original guide diagram based on the official Ships, Compass, and Cohesion guidance, used to compare a hull with the crew and path it needs.
Pick by role and path
Corsair Cove ship classes include Prowler, Destroyer, Hunter, and Reaver, with stronger plus variants from adjacent paths. That makes the choice more specific than a simple tier list:
- Choose the hull the current quest or encounter recommends.
- Compare crew capacity with the people you can safely remove from home.
- Check supplies and repair capacity before long or dangerous voyages.
- Look at adjacent path unlocks when you want a stronger plus variant.
- Keep a practical ship available for emergencies while saving resources for a long-term upgrade.
Ship combat is not separate from settlement planning. Every crew member assigned to a hull is a worker who is not producing food, Planks, or repairs at home.
Prepare before departure
- Finish construction and do not launch a hull still waiting on materials.
- Assign the required crew and a captain.
- Load or reserve enough supplies for the encounter type.
- Keep food, drink, and essential production stable at home.
- Make a manual save before a choice-heavy or hostile event.
For exploration, the Discovery Event guide explains fog, map markers, and retained Principles. For hostile voyages, move on to the ship combat guide.
After choosing the hull, use the captain and ship combinations guide to match its job with a captain whose traits support that mission.
Common mistakes
- Building the next hull before unlocking the required Compass tier.
- Assigning too many skilled workers away from a fragile settlement.
- Ignoring supplies because the ship looks strong on paper.
- Chasing a plus variant without checking its adjacent path requirement.
- Rebuilding after a loss before checking what the encounter needed.
What success looks like
The ship finishes construction, has the required crew and captain, departs without creating a home shortage, and returns with enough Health, Crew, and Supplies to repair or continue. If a voyage barely survives, that is a sign to upgrade logistics or choose a different path before repeating it.
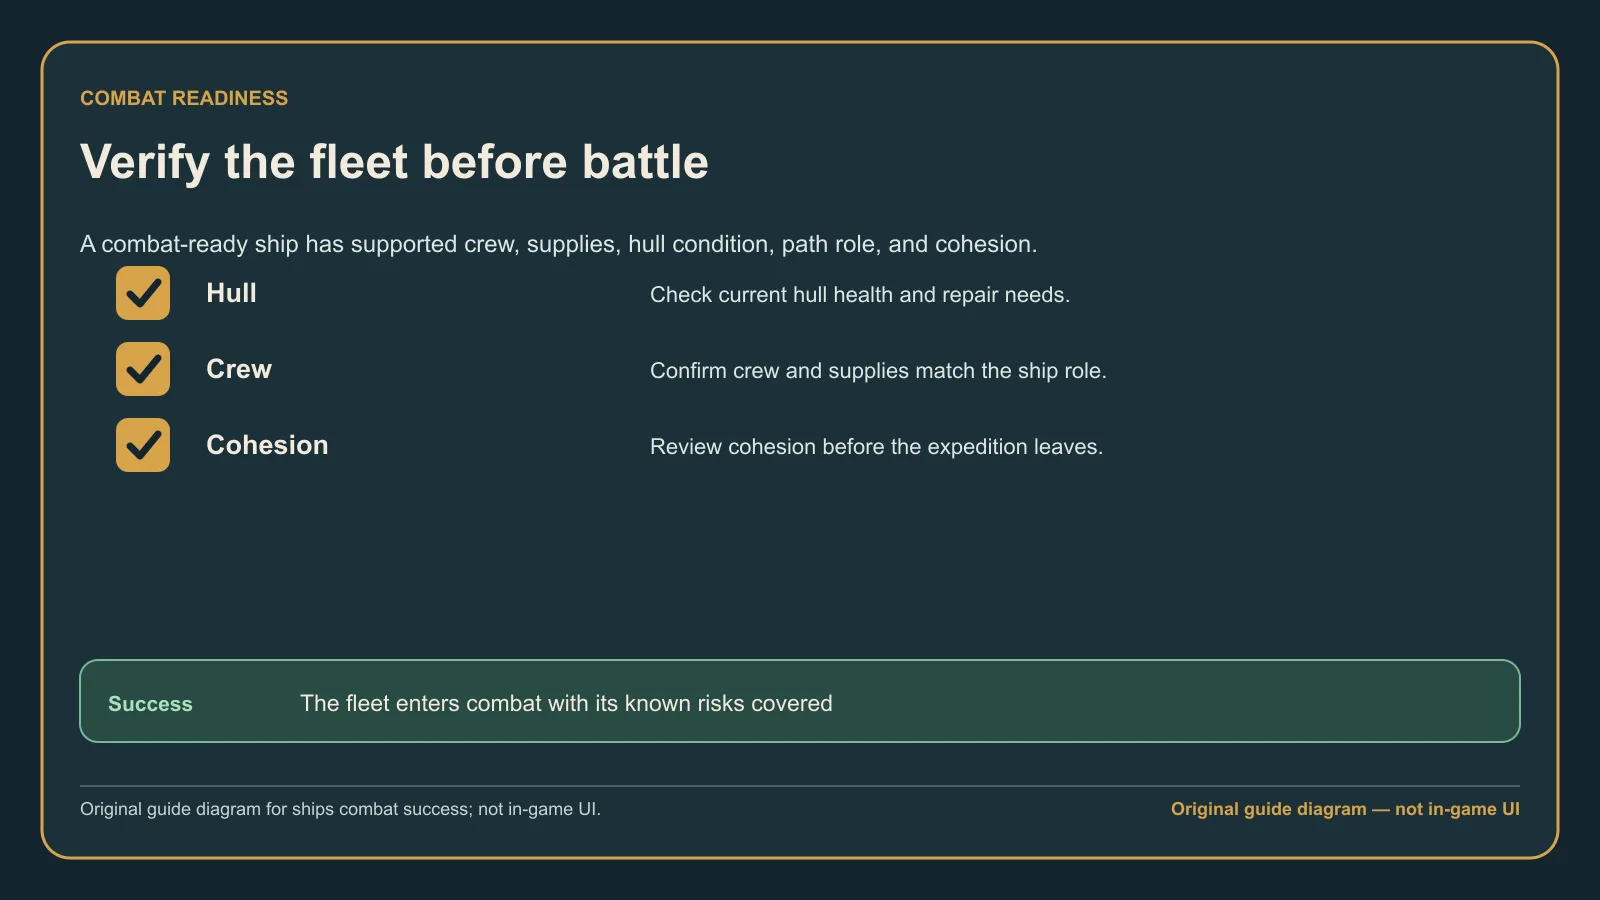
Original guide diagram based on the official Ships and Cohesion guidance, highlighting the checks that confirm a voyage is ready.