Quick answer
The Trading Post stockpiles selected resources and sells them for Coins. Build it for 50 Planks and 100 Coins, feed it only genuine surplus, and place it near the storage or port that already handles those goods.
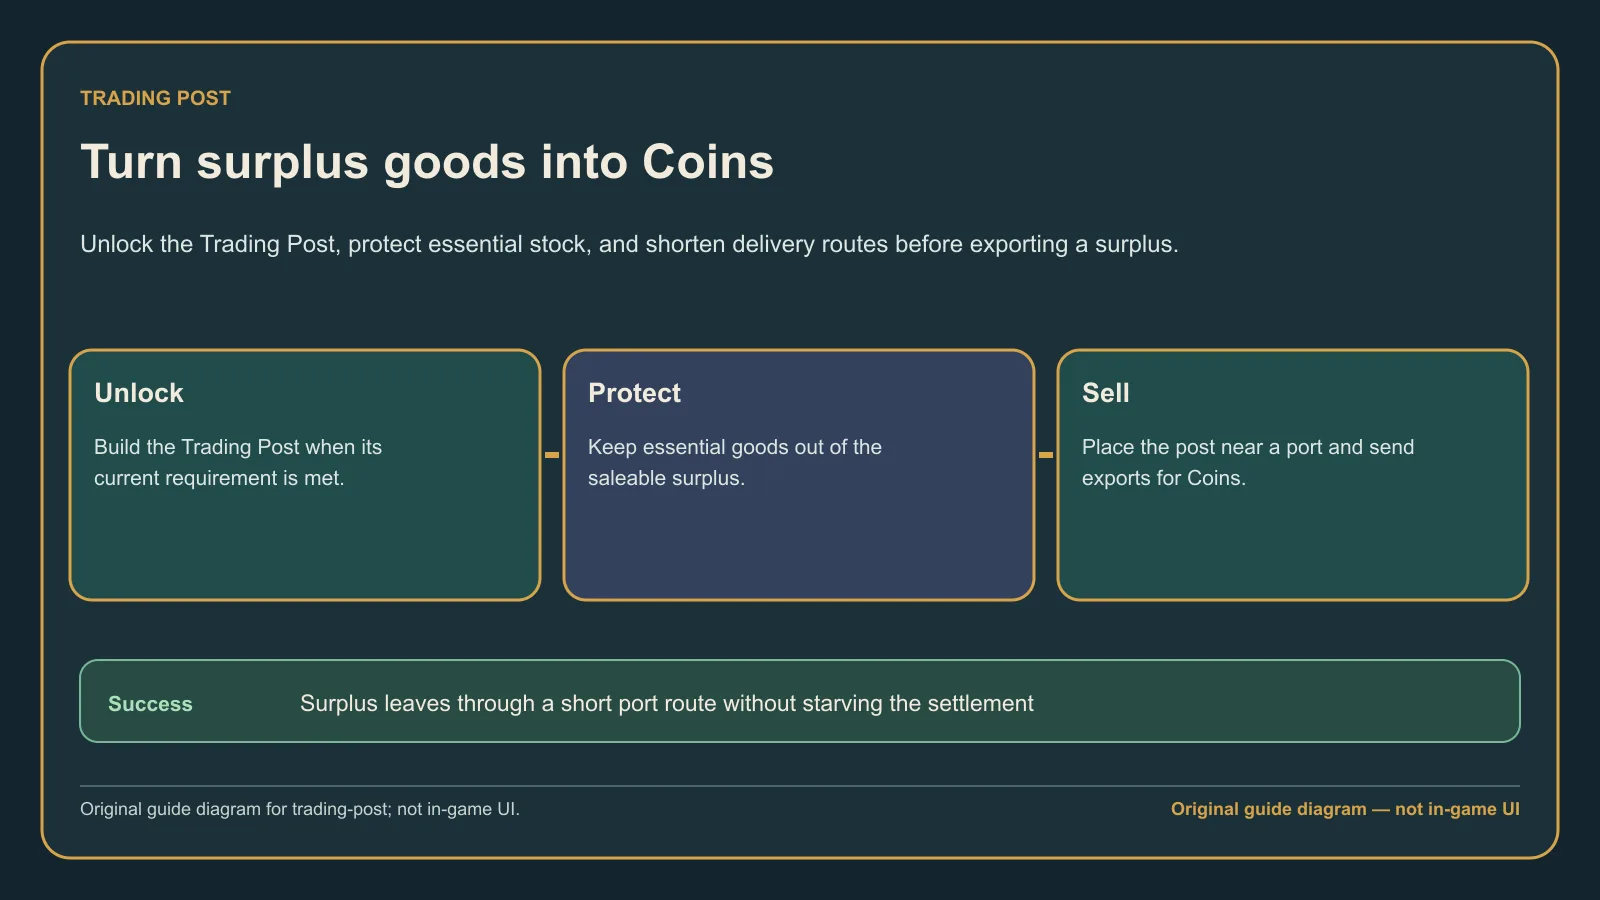
Original guide diagram based on the official Trading Post guidance, showing surplus selection, a short route, and the sale outcome.
Version and source notesUpdated 2026-08-28 · Within source review window
- Updated
- 2026-08-28
- Works with
- Released PC version after Patch #4 (v1.1.4.242868)
- What this guide covers
- Covers Trading Post cost, sale flow, stock protection, and practical port placement
- Version notes
- The exact unlock display is inconsistent across current official tables and needs an in-game check
- Update status
- Within source review window
Unlock and build it safely
- Open the Wealth side of the Compass and locate the Trading Post in your current game.
- Reserve 50 Planks and 100 Coins without delaying essential housing or repairs.
- Place it near the warehouse or Pier holding export goods.
- Connect it to the camp network.
- Select one surplus resource and watch the first delivery and sale.
Current official tables do not agree on one displayed Wealth threshold. Use the live Compass as the authority instead of spending points toward an unverified number.
Choose what to sell
Sell goods that your haven produces faster than it consumes. Keep construction materials, crew upkeep, ammunition, repair items, and scarce raid resources above a clear reserve floor.
For stage-by-stage export choices and the opportunity cost behind them, use the money guide before choosing which surplus to route here.
- Start with one abundant local product.
- Stop exports when the stock trend turns negative.
- Do not sell a bottleneck input just because its warehouse slot is full.
- Recheck the route after adding a second export good.
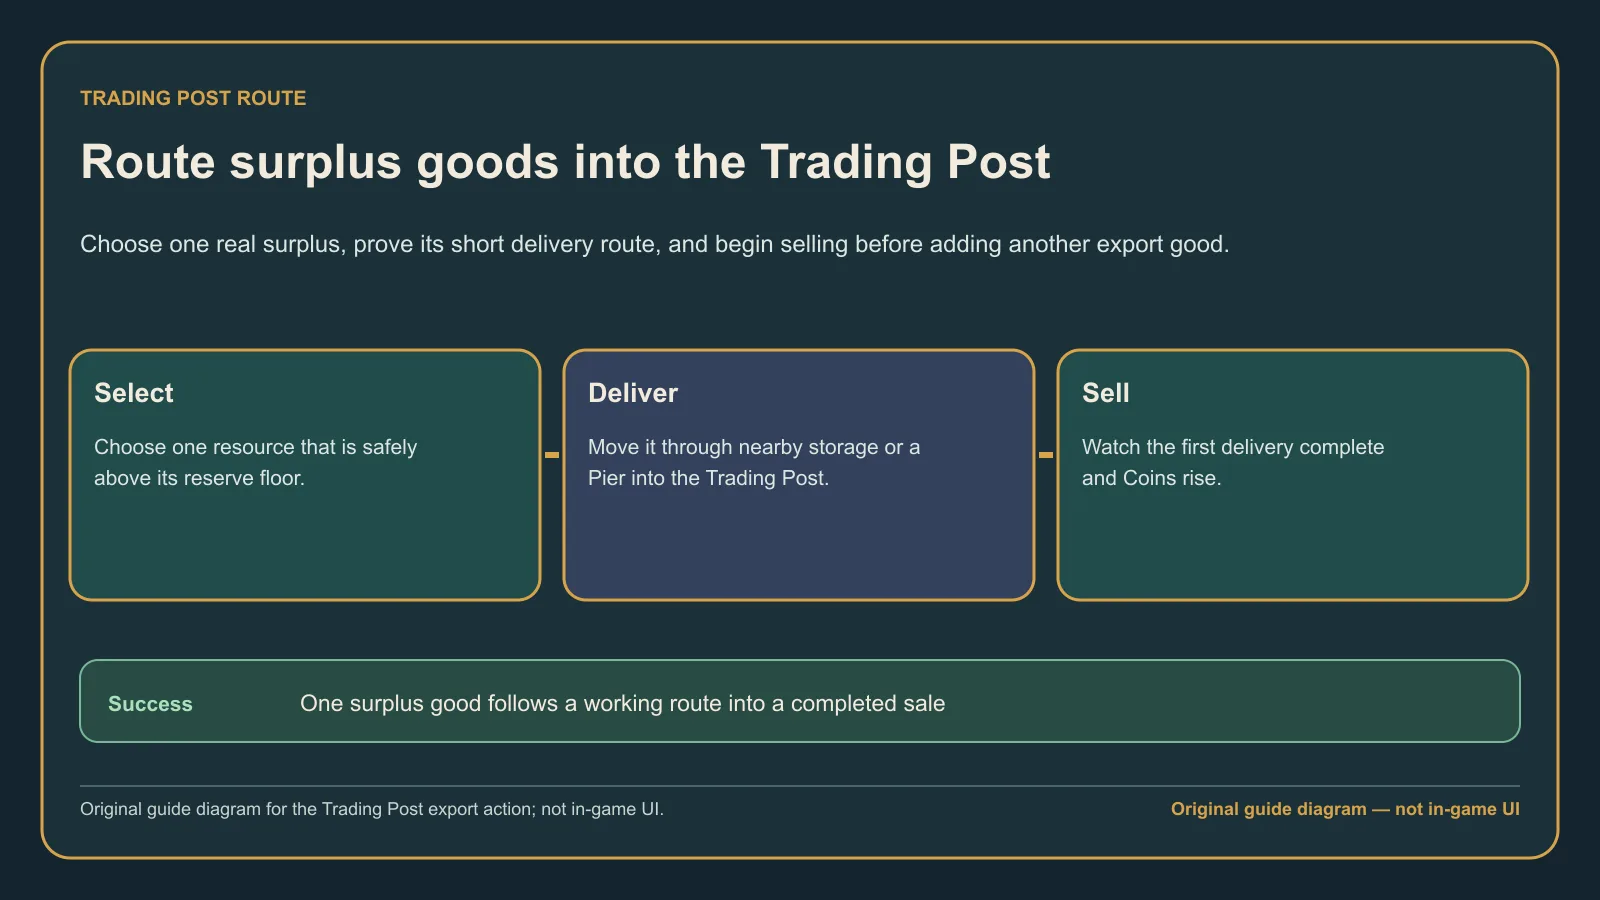
Original guide diagram based on the official Trading Post guidance, showing one surplus good moving from selection through delivery to sale.
Fix a Trading Post that is not selling
Check source stock, the selected resource, destination capacity, the physical connection, and available Fetchers. If the item sits at a Pier, confirm that the route can actually pull from that Pier into the Trading Post or a nearby warehouse.
Common mistakes
- Following an old unlock number instead of the live Compass.
- Selling food, drink, Rope, or repair stock needed by active projects.
- Placing the Trading Post far from every source.
- Assigning several goods before proving one route.
- Treating gross sales as profit while production is starving.
What success looks like
The selected good moves into the Trading Post, Coins increase, and the source warehouse remains above its reserve floor. If income rises while production or ship repair stalls, reduce exports until the local economy is stable again.
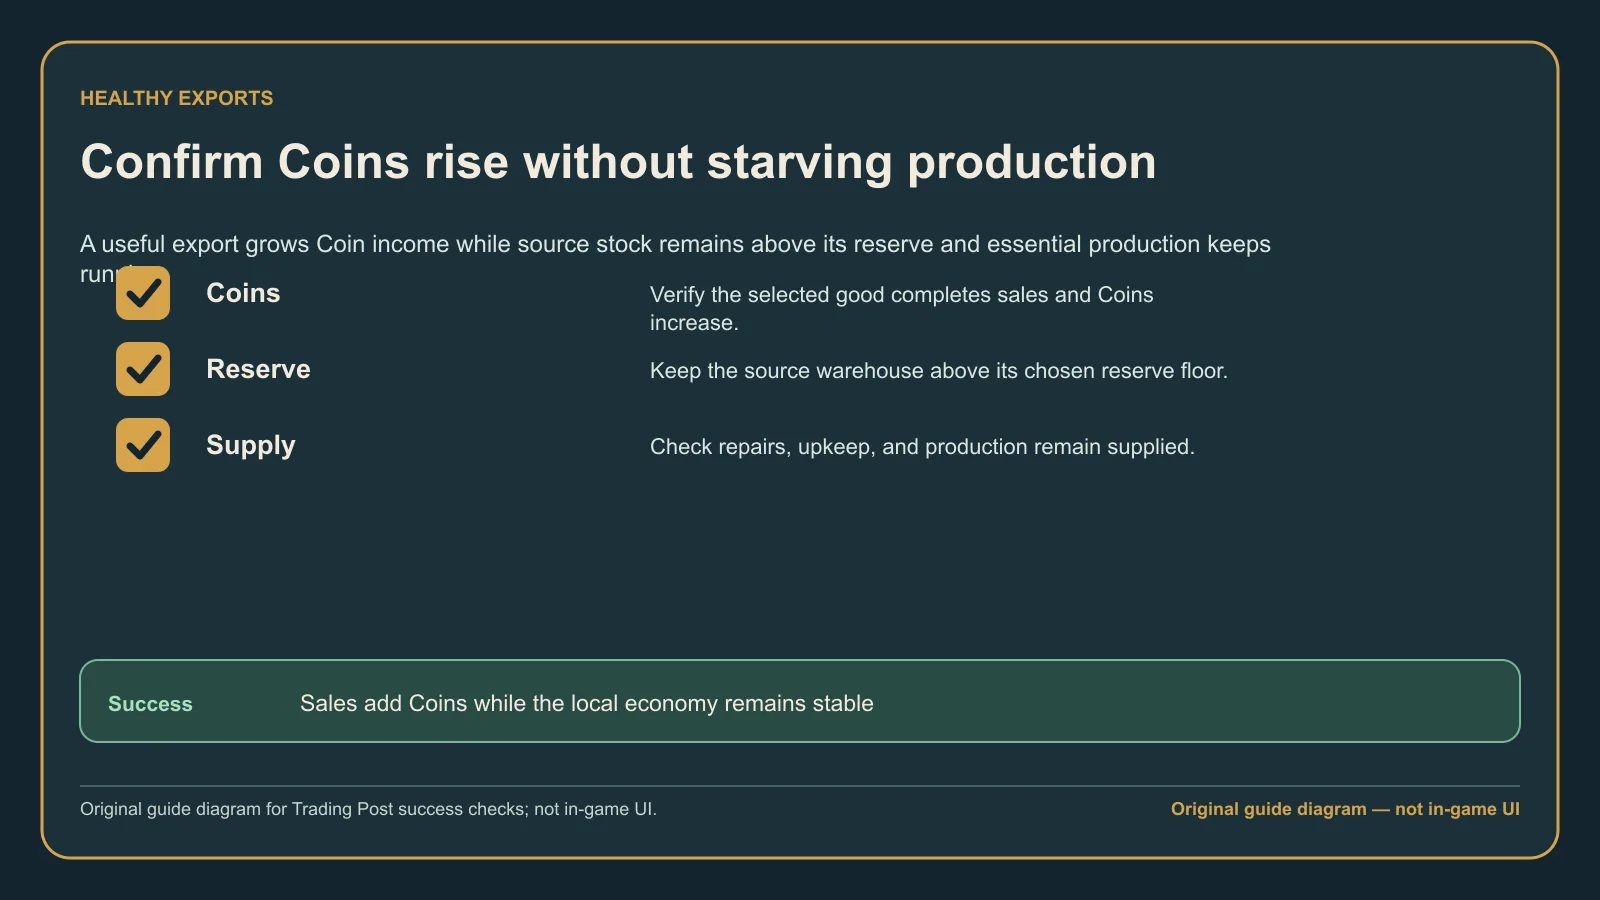
Original guide diagram based on the official Trading Post guidance, checking Coin income, reserve stock, and local supply together.