Quick start
Build one stable camp, observe a working production delivery, complete the Pier requirement, then prepare the first expedition. Use the saved milestone checklist above to resume at the first check you have not confirmed; it does not change your game save.
Version and source notesUpdated 2026-08-22 · Source review due
- Updated
- 2026-08-22
- Works with
- Released PC version after July 31, 2026
- What this guide covers
- A practical route through the first two hours
- Version notes
- Recommended opening sequence; recheck tutorial blockers after patches
- Update status
- Source review due
The first-two-hours goal
Aim for one readable camp with housing, food, drink, storage, production, and the Pier route connected before you spread across the island. This is a recommended opening plan, not a single mandatory build order.
Move to the next milestone only when the current one has an observable result. That keeps a staffing shortage, broken route, or missing tutorial requirement from disappearing inside a larger settlement.
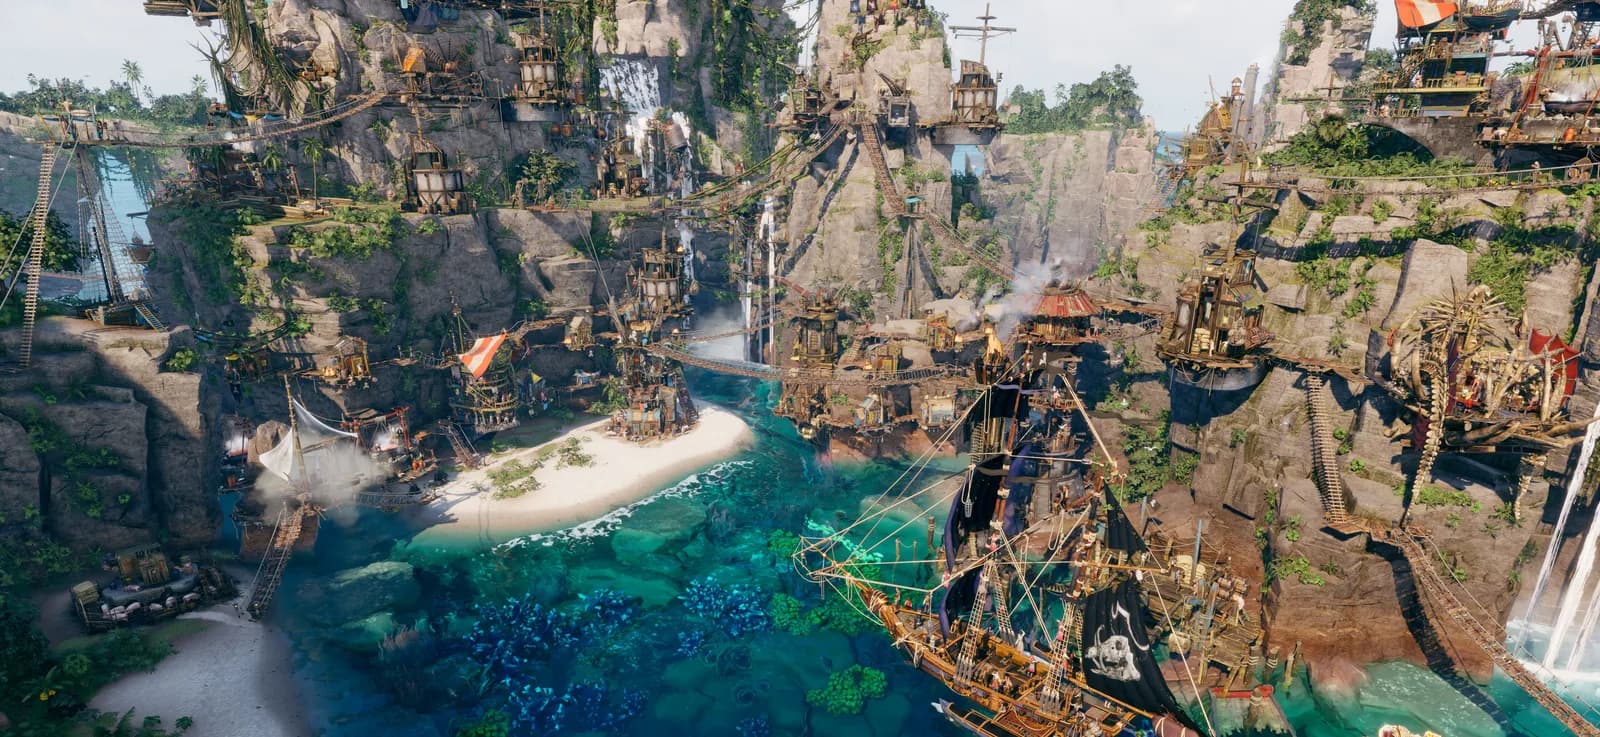
Official Corsair Cove wiki pirate-haven overview showing the kind of compact first settlement this beginner guide is aiming for.
Milestone 1: Make the first camp readable
- Keep early housing near the first work area instead of at the far edge of the island.
- Connect each operating building to the camp before diagnosing production.
- Add food and drink capacity before optional jobs compete for workers.
- Leave enough open space to read routes and correct one connection without moving the whole camp.
Ready to continue: the first camp is connected, basic needs are stable, and you can identify which buildings are operating without tracing a long route across the island.
If jobs outnumber available people, pause an optional workplace before adding another building. Use the Drifter guide to review recruitment routes, but treat its community-derived tips as options to check in your own current build.
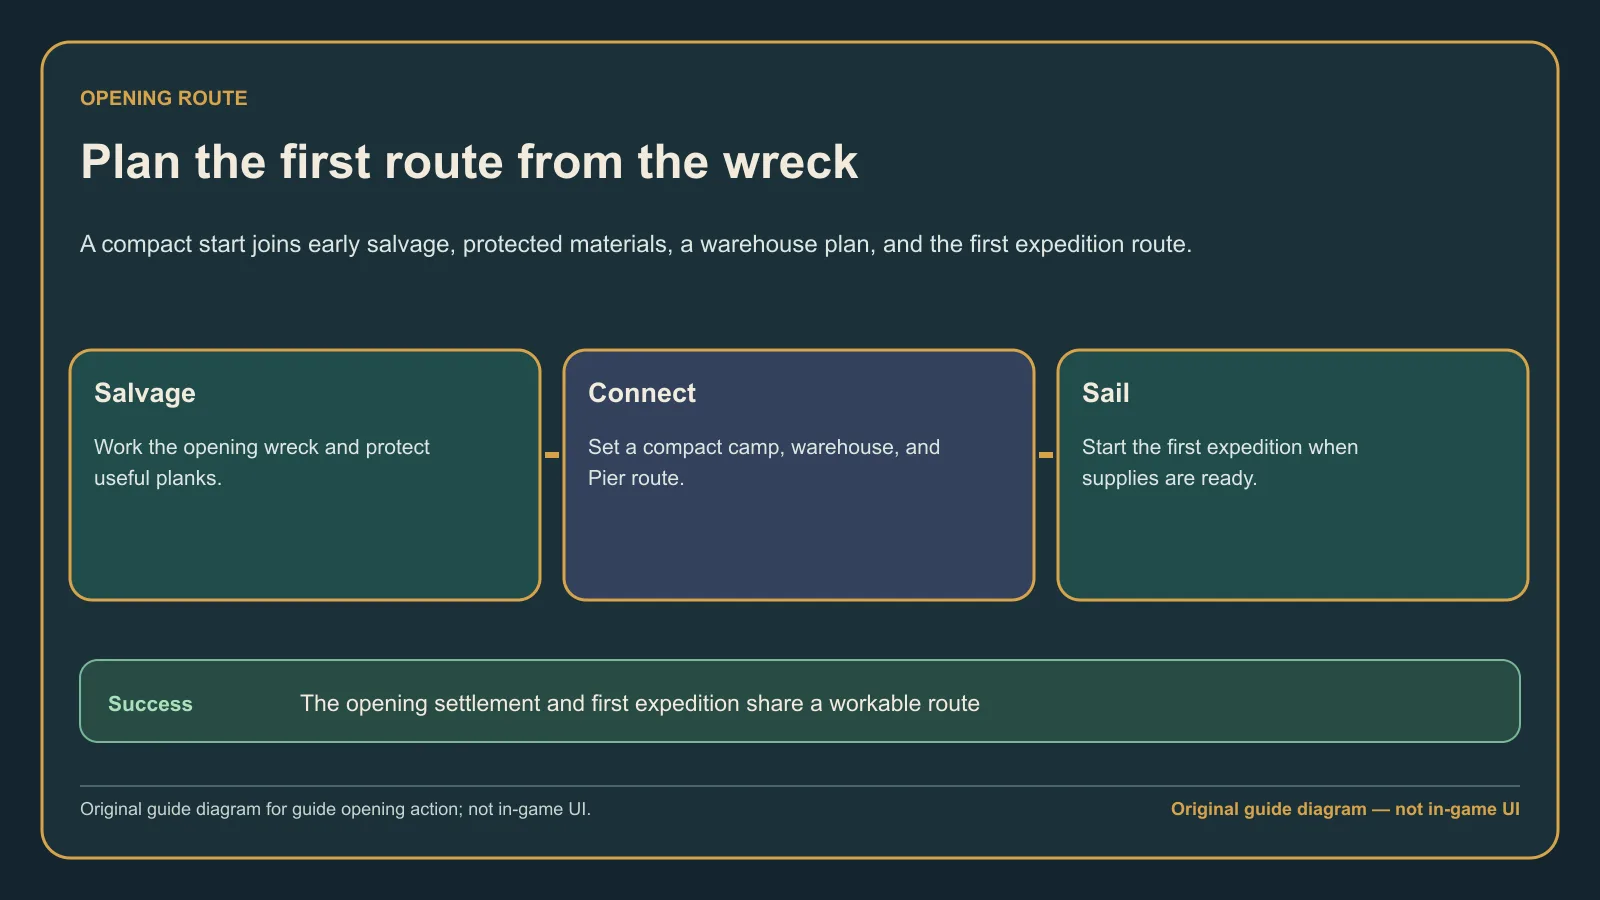
Original guide diagram based on the official Corsair Cove overview and Steam store context, used here to stage the opening milestones without overbuilding.
Milestone 2: Shorten storage and production routes
- Put storage between the producers that fill it and the destinations that empty it.
- Watch one complete delivery before deciding that a production building is broken.
- Use compact branches from a central route instead of extending every building in a different direction.
- Pause low-priority production when a tutorial task needs workers or materials now.
Ready to continue: at least one essential production chain completes a visible delivery, storage is reachable, and the route does not rely on an unclear detour.
When goods remain idle despite a visible connection, compare the symptom with the Fetcher assignment guide rather than adding more storage blindly. That page remains patch-sensitive, so test one assignment change at a time.
When the camp grows beyond one workshop, use the production chain guide to trace recipes from deposit to destination.
Milestone 3: Complete the Pier objective safely
- Read the full tutorial objective before placing or moving the Pier.
- Connect the Pier to the intended camp and storage route.
- Check whether the next instruction asks for a ship, crew, worker, route, or material.
- Make a manual save before rebuilding any part of the waterfront.
Ready to continue: the objective advances or displays a specific next requirement, and the Pier has a readable connection to the settlement.
If the banner remains unchanged, follow the Pier stuck guide before demolishing unrelated buildings. If the same action closes the game, use the crash troubleshooting guide instead.
Milestone 4: Prepare the first expedition
- Check the visible ship and crew requirements before committing people or materials.
- Keep the basic camp supplied while the expedition is away.
- Do not spend the last of a limited opening resource without knowing how you will replace it.
- Start the expedition only when the settlement remains understandable without emergency rebuilding.
Ready to continue: the ship can depart, required crew and materials are present, and food, drink, storage, and essential production remain stable at home.
Before spending Compass points on the next hull, check the Compass progression guide so the unlock matches the next obstacle.
Before you build the second camp
Use the second pirate camp guide when the first camp can support expansion without borrowing every worker and delivery route. A second camp should solve a location or supply problem; it should not hide an unstable first camp.
Island layouts differ, so use the milestones as checks rather than a rigid blueprint. When a step fails, stop at that milestone and open the focused problem guide instead of adding more buildings around the symptom.
Once those opening checks are stable, follow the progression roadmap to choose the next milestone instead of expanding in every direction. If you are planning a complete playthrough from the start, the achievement and 100% guide flags the objectives worth tracking before later cleanup.
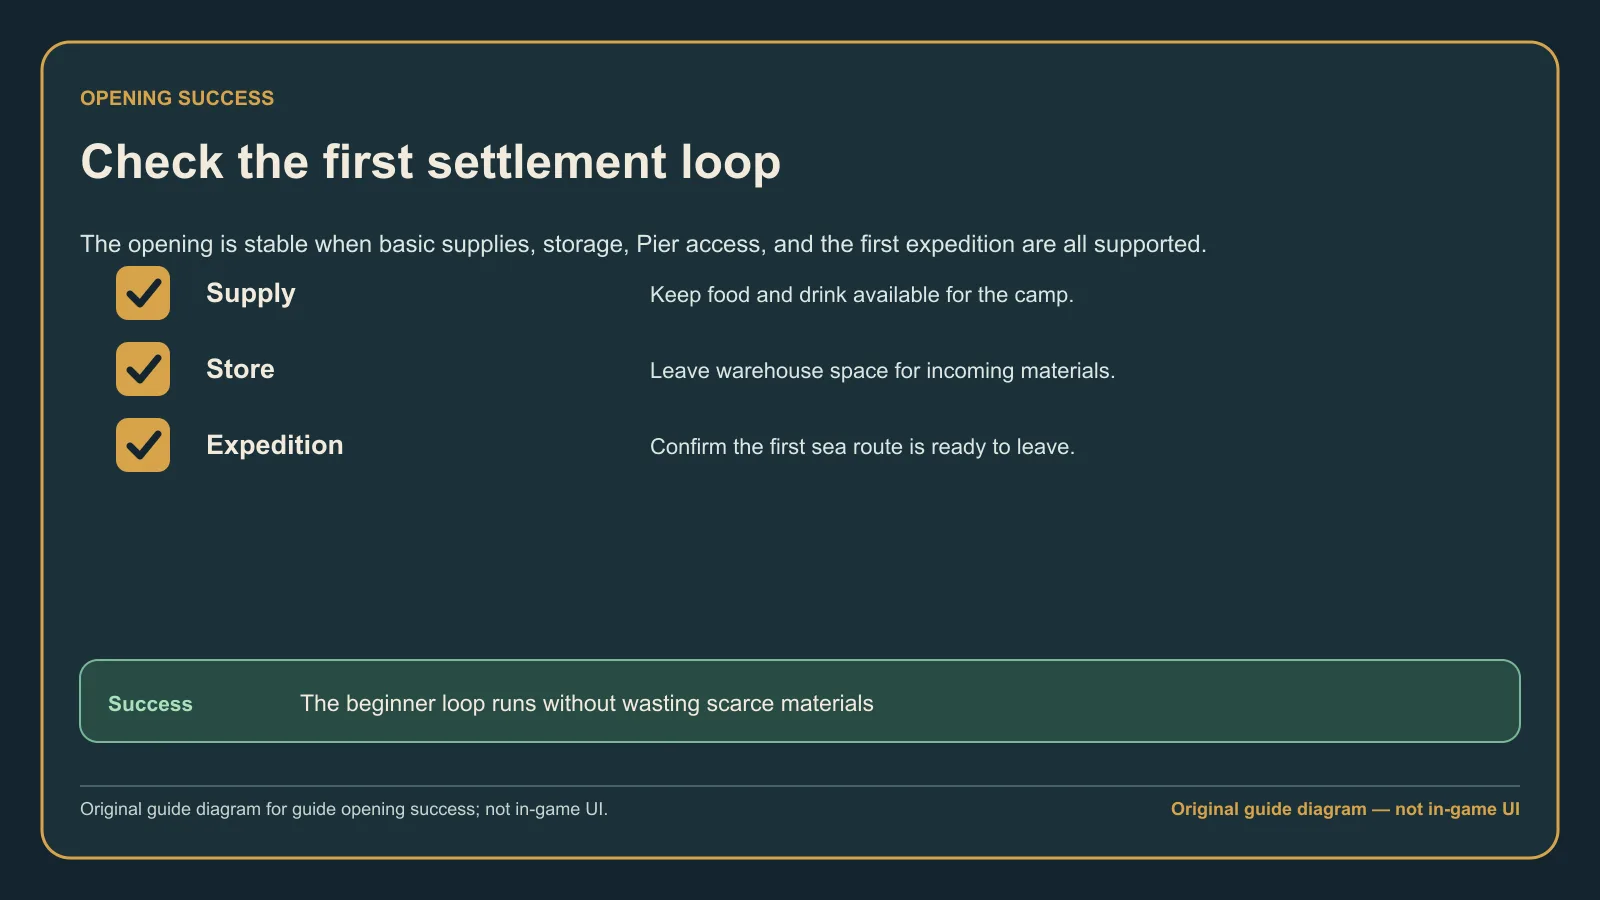
Original guide diagram from the official Corsair Cove overview and Steam store context, highlighting the checks that show the opening is ready for expansion.