Quick diagnosis
Logistics problems usually show up as one of these symptoms: a producer fills up, a workshop waits for goods, a warehouse cannot pull an item, or a Pier cannot transfer stock. Before hiring more Fetchers, check whether the route has pickup stock, destination space, the right resource filter, and a usable camp connection.
The goal is not the shortest possible route on paper. The goal is a route you can watch complete in a few seconds without tracing lines across the whole island.
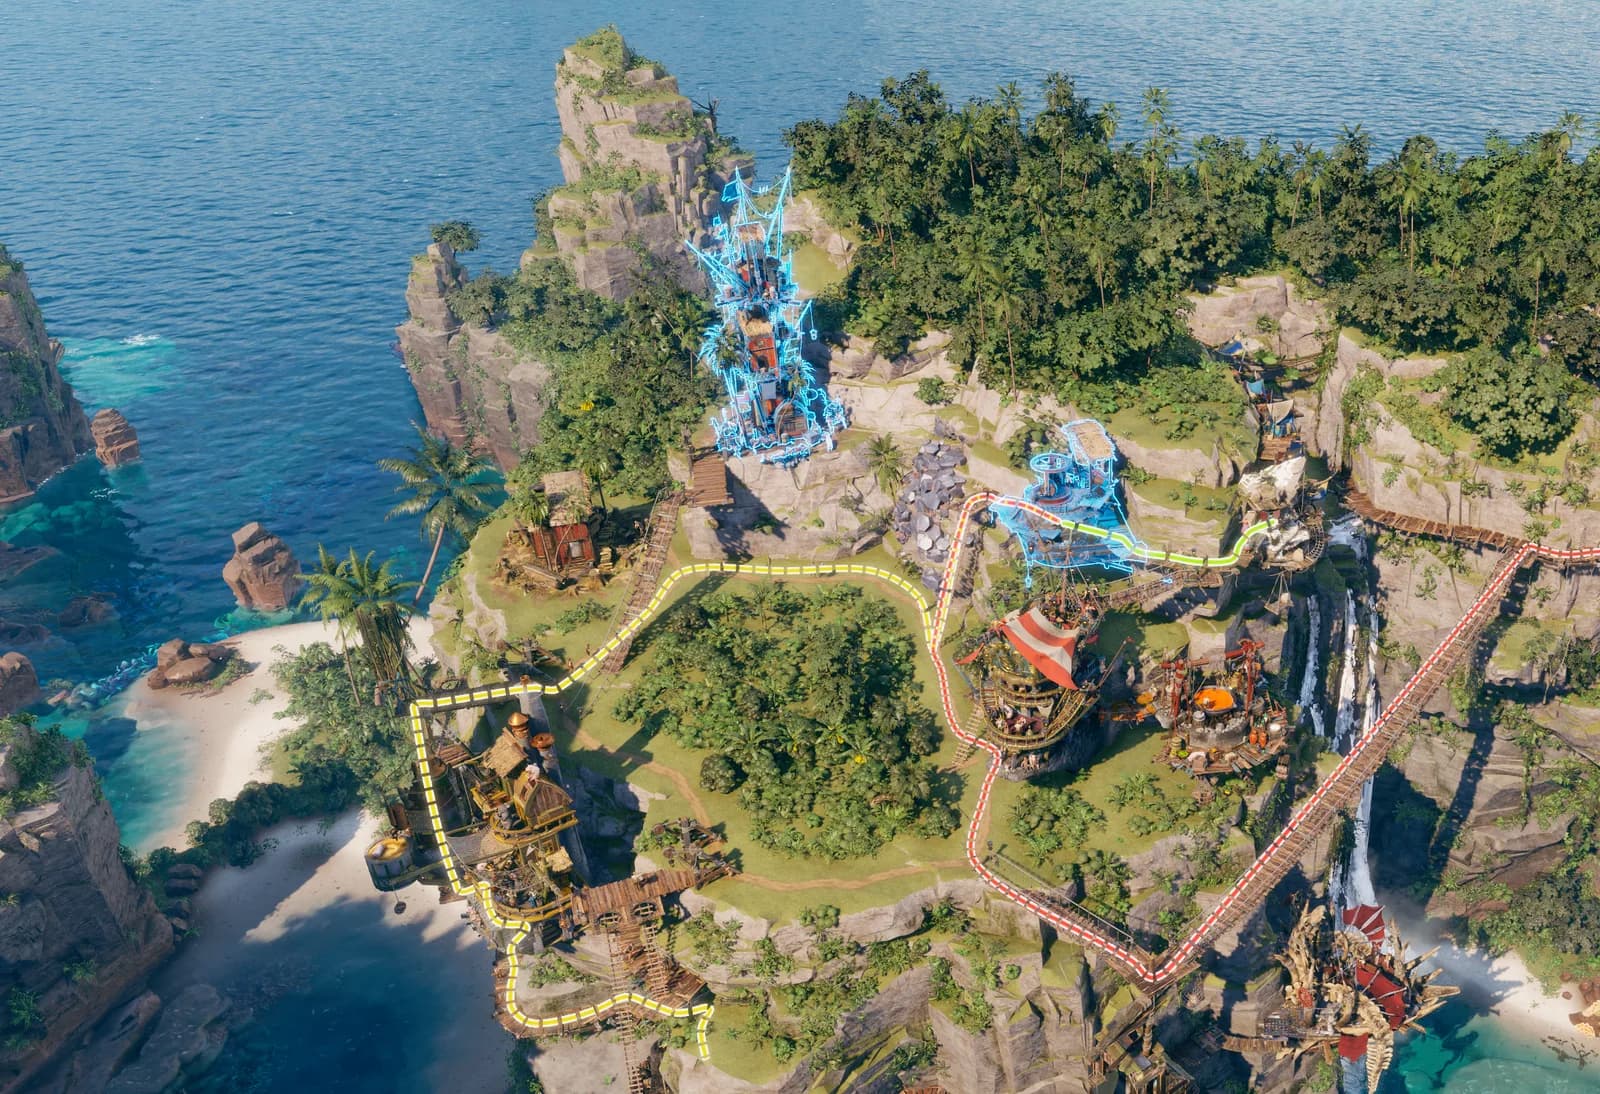
Official Corsair Cove wiki route-efficiency image showing the green, yellow, and red paths used to spot long deliveries.
Version and source notesUpdated 2026-08-26 · Source review due
- Updated
- 2026-08-26
- Works with
- Released PC version after Patch #4
- What this guide covers
- Covers warehouse hubs, Fetcher checks, camp connections, and pier transfers
- Version notes
- Route behavior and storage limits may change after major patches
- Update status
- Source review due
Choose the right guide
This page: Improve a working network.
Build one local warehouse hub
- Put a warehouse between the producers that fill it and the buildings that empty it.
- Reserve slots for resources the local area actually makes and consumes.
- Assign collection routes from nearby producers into that warehouse.
- Assign short onward routes from the warehouse to workshops, Piers, or ship supplies.
- Watch a delivery leave and return before duplicating the same route.
Warehouses work best as buffers. They are less useful when they become a mandatory stop for every item on the island.
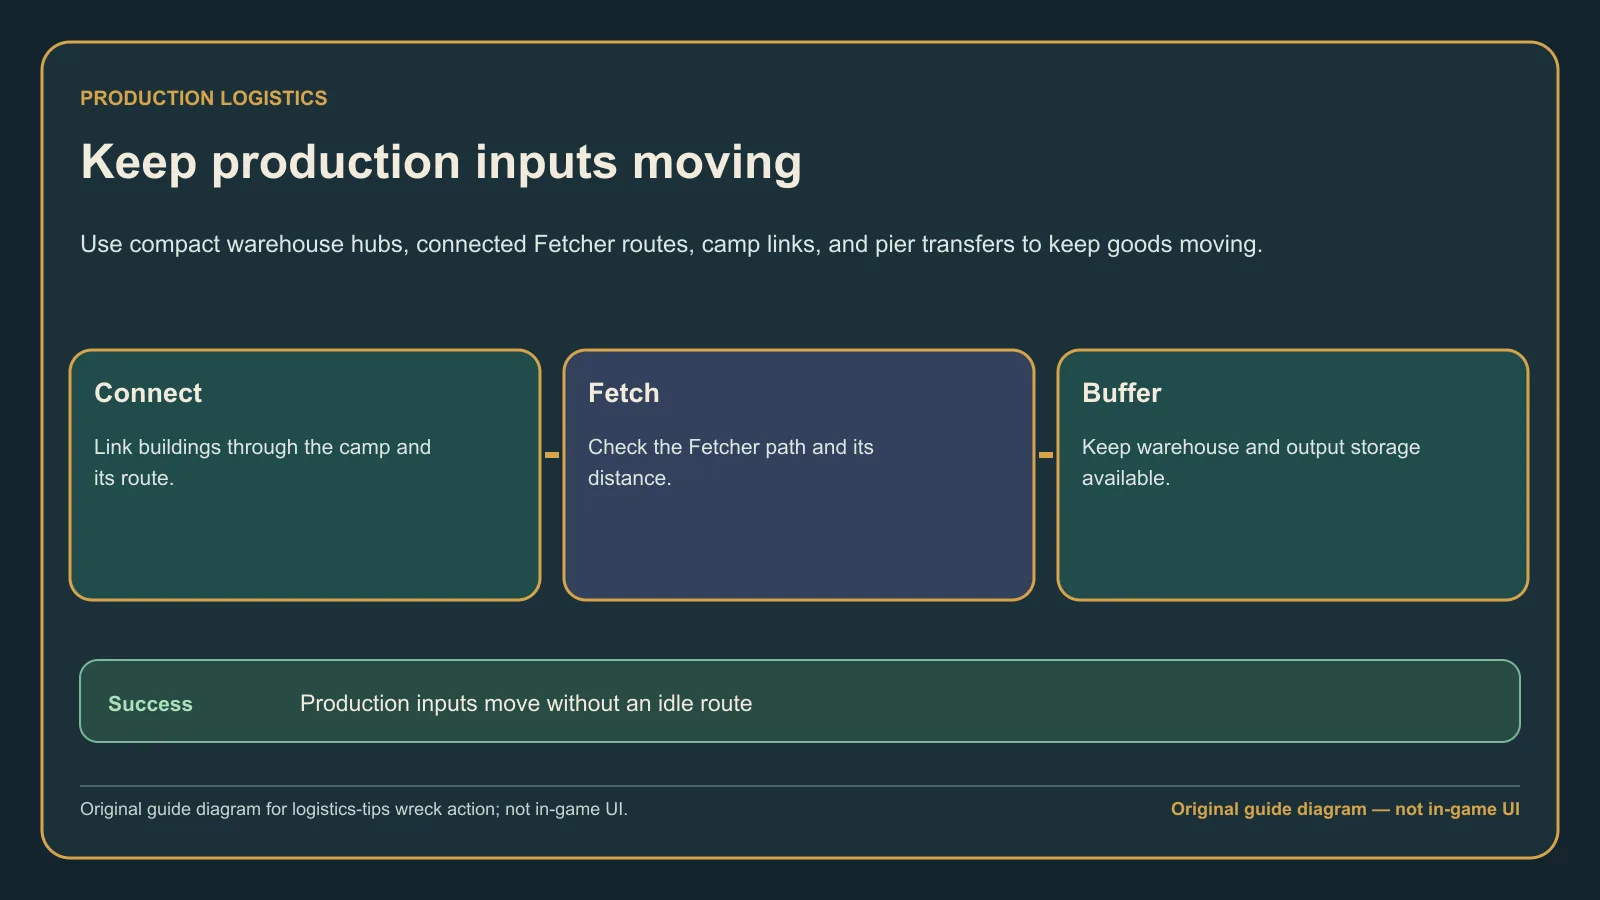
Original guide diagram based on the official Buildings, Resources, and production-building guidance, used to trace stock and storage before rerouting.
Use these route checks in order
When a delivery does not move, check the endpoints before blaming the worker:
- Source stock: the producer or warehouse must already hold the selected item.
- Destination space: input and output storage must have room.
- Resource match: the route must carry the exact item the destination accepts.
- Camp range: both ends need a usable connection to the settlement network.
- Route length: red or indirect routes should be shortened or split with local storage.
- Priority: pause nonessential jobs if Fetchers are needed for an urgent Pier or ship task.
Players commonly report warehouse-to-warehouse and Pier delivery stalls around storage limits and multi-pier layouts. If your route looks valid, test one small change at a time: one slot, one warehouse connection, or one Pier transfer.
If delayed Upkeep is already lowering settlement unity, switch to the Cohesion and mutiny recovery guide so delivery repair and campaign recovery happen in the right order.
Connect camps without tangling routes
For a second resource area, keep production local:
- Gather the resource near its deposit.
- Store exports at a local warehouse.
- Move only what the other camp needs through the Pier or ship route.
- Keep food, drink, beds, and workers near the new jobs.
The second pirate camp guide covers the settlement side. The production chains guide helps if the local workshop itself is idle.
Common mistakes
- Adding Fetchers to a route that has no pickup stock.
- Giving one warehouse too many unrelated resources.
- Routing every workshop directly to the first Pier.
- Building a second camp without local food, drink, beds, or storage.
- Changing several routes at once and then losing track of what worked.
What success looks like
The route line stays short, the source stock drops when a Fetcher leaves, the destination storage rises, and production resumes without a recurring backlog. If goods move during quiet periods but stop under load, split the route or add a local buffer instead of increasing worker count alone.
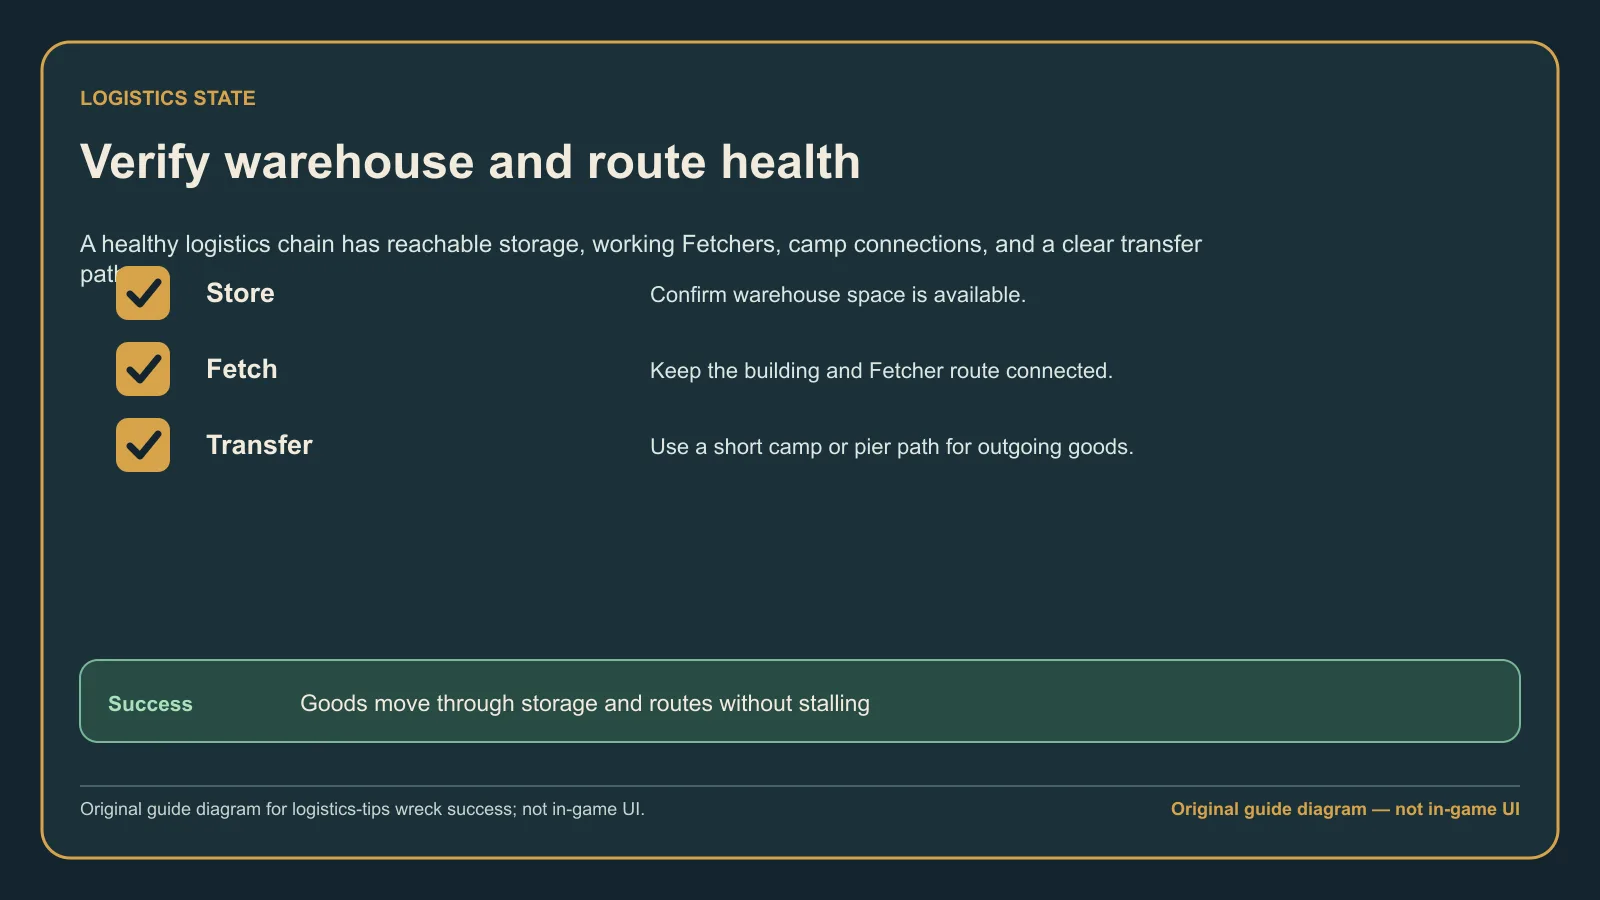
Original guide diagram based on the official logistics sources, highlighting a short route with source and destination storage both moving.